User Documentation
Introduction - Thank You
Thank You
At first we would like to say thank you for choosing Sangar Slider WordPress plugin. In this documentation you will find everything you need to use Sangar Slider WordPress. If you have any questions which are not covered in this documentation, please open a new thread on Support Forum. Our support team will glad to help you.
Introduction - About
About the Sangar Slider WordPress
Sangar Slider is a premium high-quality slider plugin for WordPress. With smooth and fast animation, touch and swipe gesture support, modern, easy to use and trully responsive. You can add videos (HTML5, Youtube and/or Vimeo), images, text, and any HTML contents. Packed with premium skins and template, and also easy to create your very own custom templates for your slider.
Install - Minimum Requirement
Minimum Server Requirements
WordPress 4.0 or greaterPHP version 5.2.4 or greaterMySQL version 5.0 or greater
Install - Installing by WP Installer
Installing by WP plugin installer
- Extract the zip file which you’ve downloaded from Tonjoostudio.com.
- Navigate to Plugins > Add New page in your WordPress admin.
- Click on the Upload button on the top.
- Click on Choose File and choose “sangar-slider-premium.zip” file from extracted zip file. then hit the Install Now button.
- Now you should see “Master Slider WP” in plugins list. Click on the Activate Plugin to activate Master Slider WP.
Install - Installing by FTP
Installing using FTP
First, you need a tool for uploading plugin files to your site, you can use filemanager from cPanel or any FTP clients. Some good FTP clients :
- FileZilla for Linux/windows.
- Cyberduck for Mac.
- Extract the zip file which you’ve downloaded from Tonjoostudio.com.
- Open extracted folder and extract “sangar-slider-premium.zip” file, after extract you should see “sangar-slider-premium” folder.
- Connect to you server by FTP application then navigate to
/wp-content/plugins/. - Upload the “sangar-slider-premium” folder which extracted.
- Login to your WordPress admin area and navigate to the Plugins page, then click the Activate below Sangar Slider.
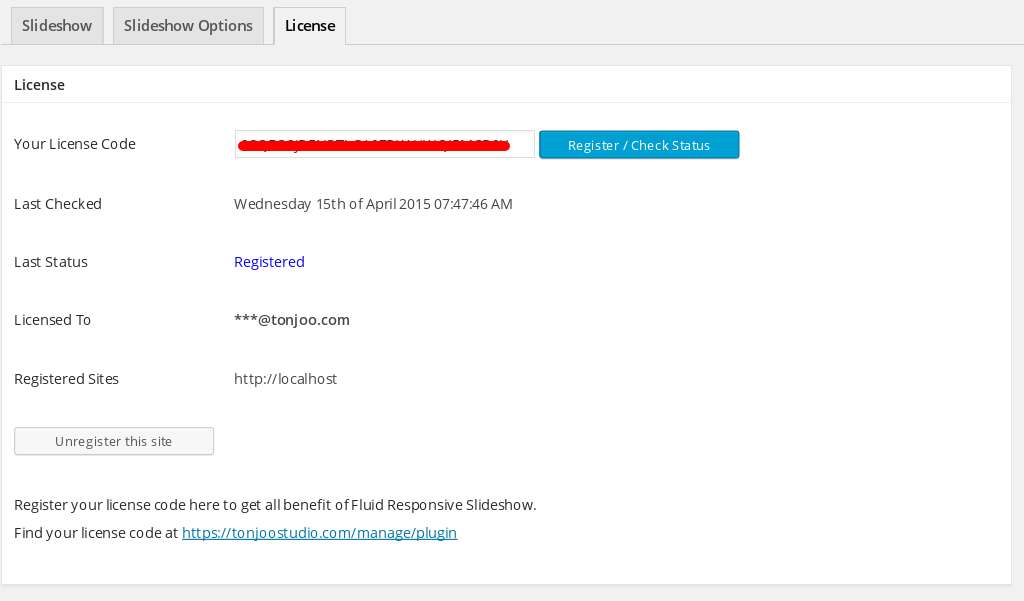
Updating - Auto Update
Auto update
Auto update is simple and easy. Just go to Sangar Slider settings > Enter your Sangar Slider License. Then Auto update will apear in Plugin page.
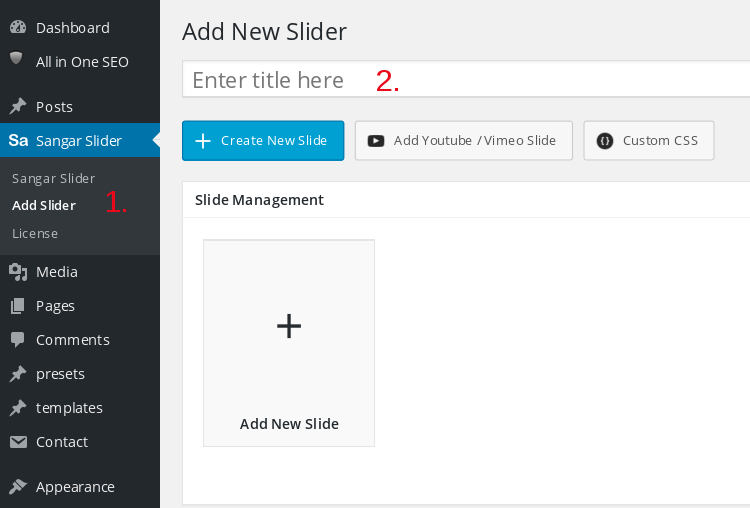
Create - Creating New Slider
Creating New Slide
- Click
Sangar Slider > Add Slider - Type slider title
- Choose your template
- Click “Create New Slide”
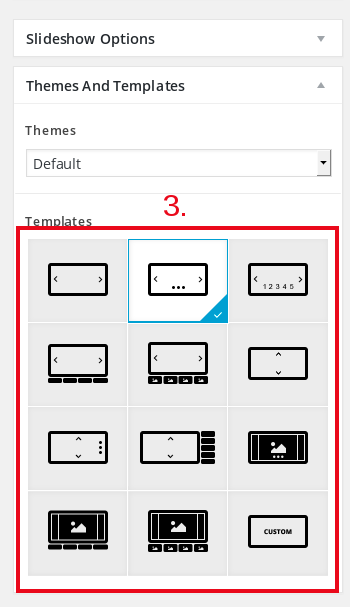
Create - Preset
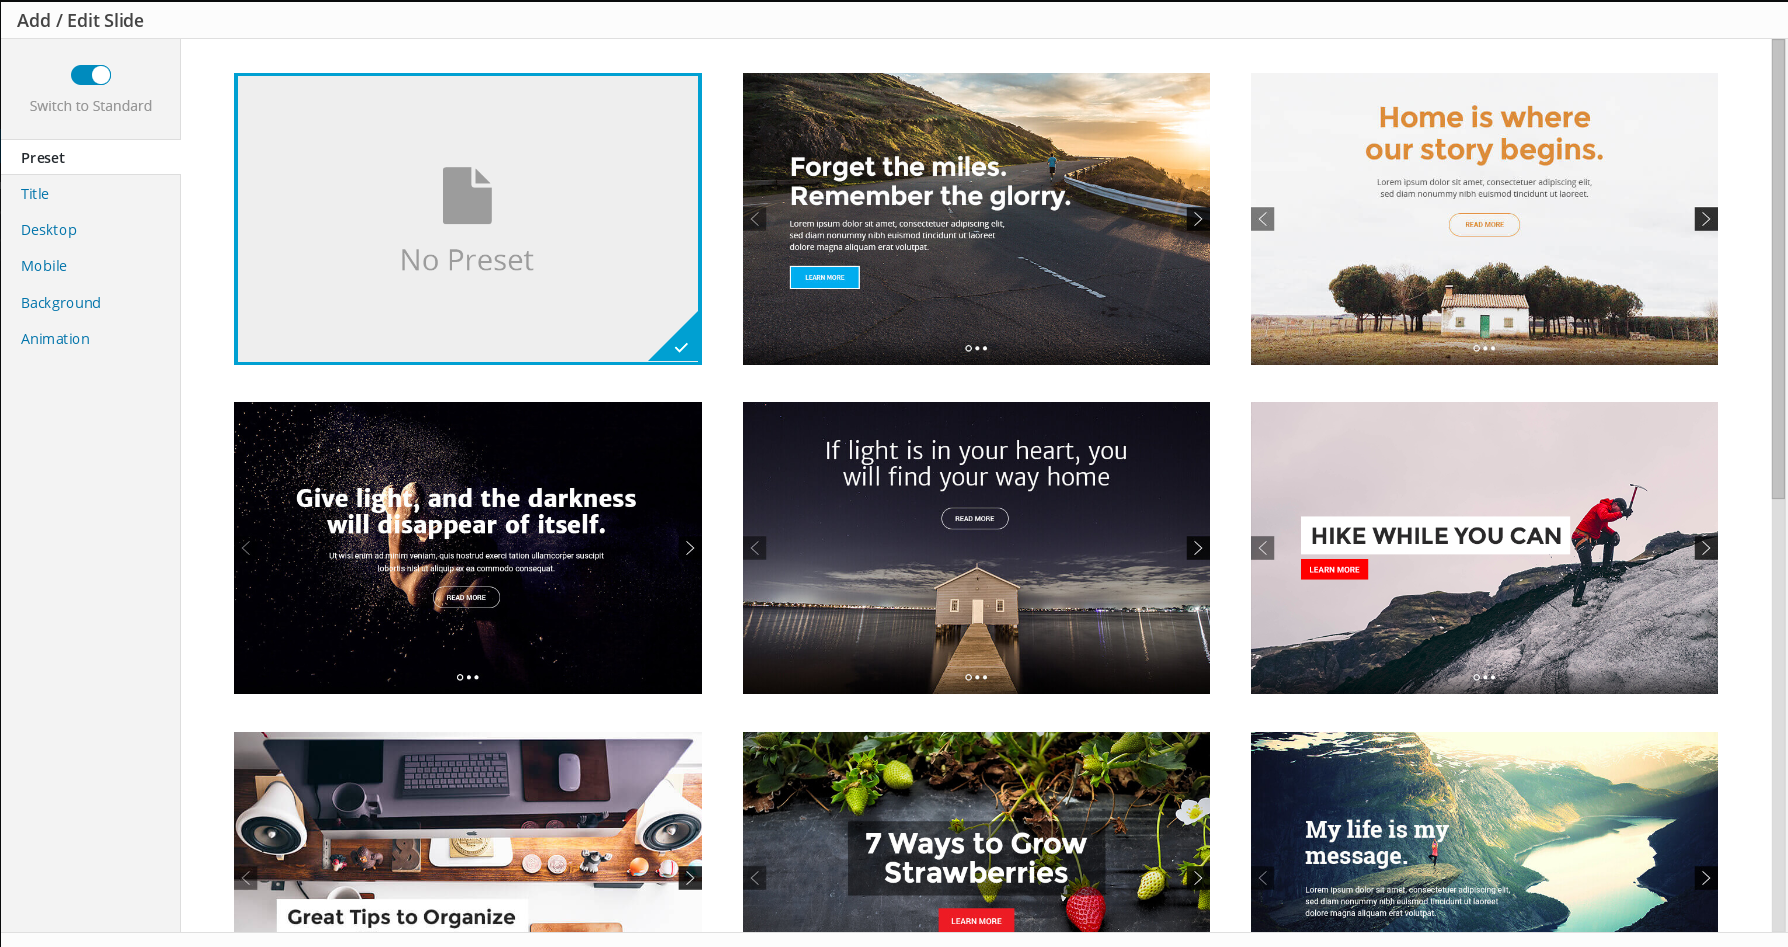
Desktop - Layer Editor
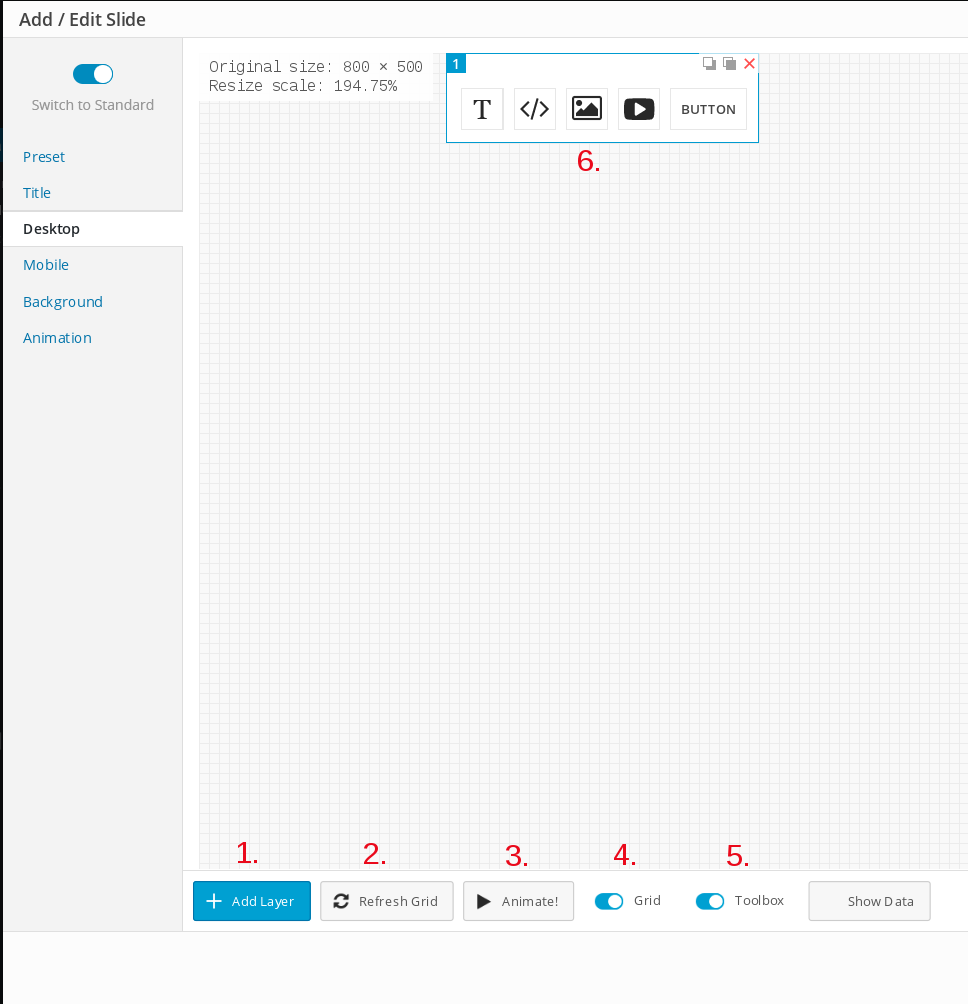
Layer editor is essential part of Sangar Slider. Here, you can add slider, adjust its position with intuitive drag-n-drop design.
1. “Add Layer” to add new layer on grid
2. Click “Refresh Grid” after you make change on grid width, so it will reset to newest setting
3. “Animate” to simulate layer animation in front-end
4. “Grid” switcher, to display grid on layer editor
5. “Toolbox” switcher to display layer content toolbox (Such as Text, Image, Code, Video, etc.)
6. “Toolbox” box is essential tool set for layer editor. Here you can add Text, Code, Video, Image to layer editor. We will talk more about Toolbox in the next section.
Mobile - Layer Editor
Mobile layer editor is just like Desktop layer editor. The only difference is, it’s for mobile view :

Background - Image
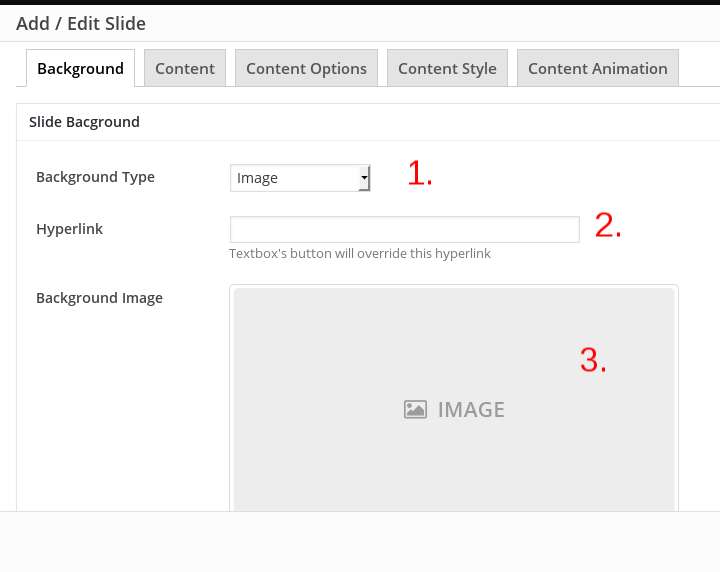
Background – Image
- Choose “image” as background
- [optional] Type your slide link
- Click Set Image, and browse your image. Then upload
- Click Save Slide
Background - Solid Color
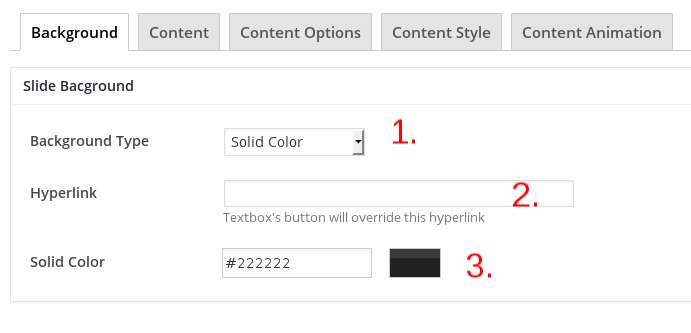
Background – Solid Color
- Choose “Solid Color” as background
- [optional] Type your slide link
- Type your HTML Hex color
- Click Save Slide
Background - Video (HTML5)
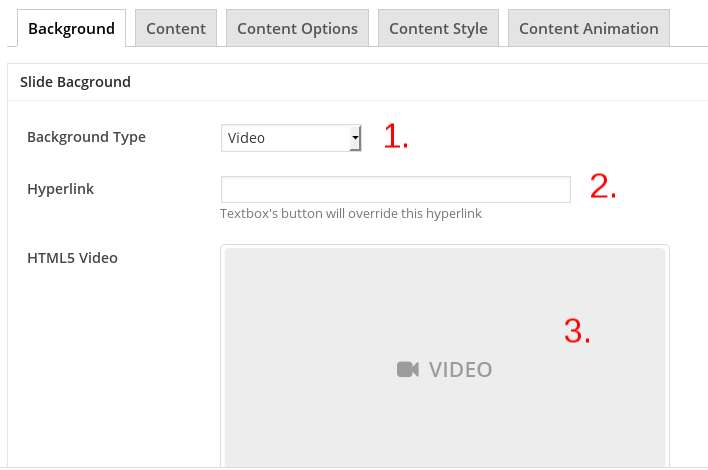
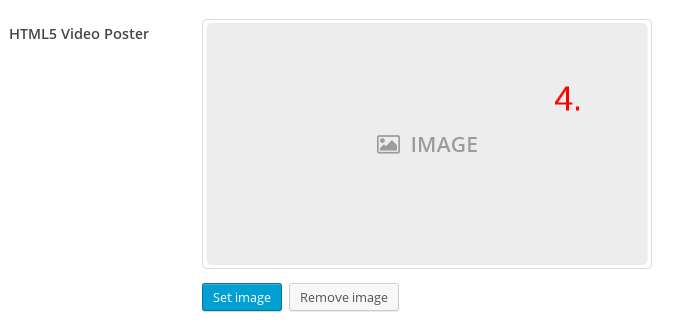
Background – Video (HTML5)
- Choose “Video” as background
- [optional] Type your slide link
- Click Set Video, and browse your video. Then upload
- Click Set Video Poster, and browse your video image poster. Then upload
Background - Video (Youtube/vimeo)
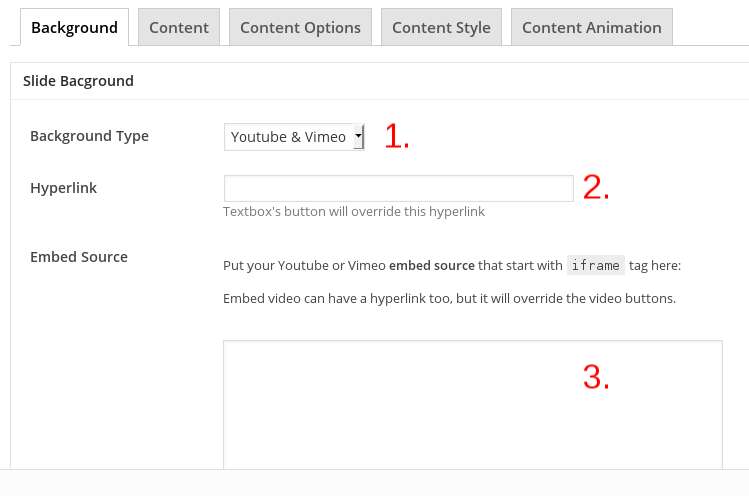
Background – Video (Youtube/Vimeo)
- Choose “Youtube & Vimeo” as background
- [optional] Type your slide link
- Copy and paste your Youtube or Vimeo embed source (start with
iframe) - Click Save Slide
Background - HTML
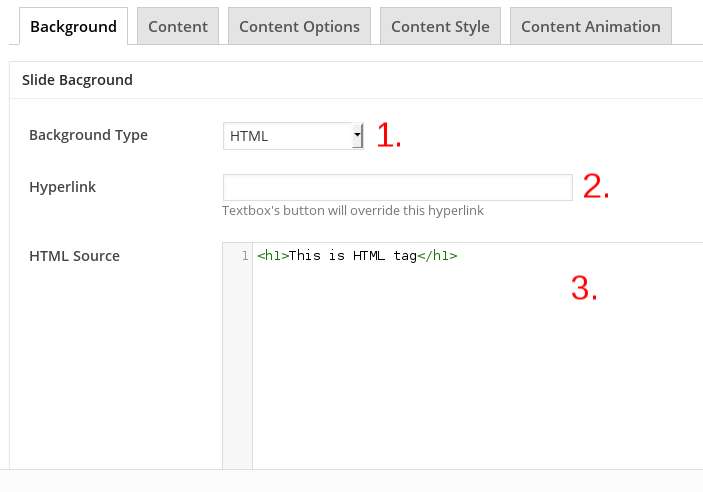
Background – HTML
- Choose “HTML” as background
- [optional] Type your slide link
- Type your HTML content here
- Click Save Slide
Animation
Enable animation for better user experience. Animation Type is for animation slide direction. Animation duration is in milisecond, and animation stagger is animation delay time beetwen items :
1. “Animation” dropdown, where do you want to display your animation. Desktop only, mobile only, or both.
2. “Animation Type”
3. “Animation Duration” in milisecond
4. “Animation Stagger” time between items to do the animations

Advanced Options - Slider Scaling
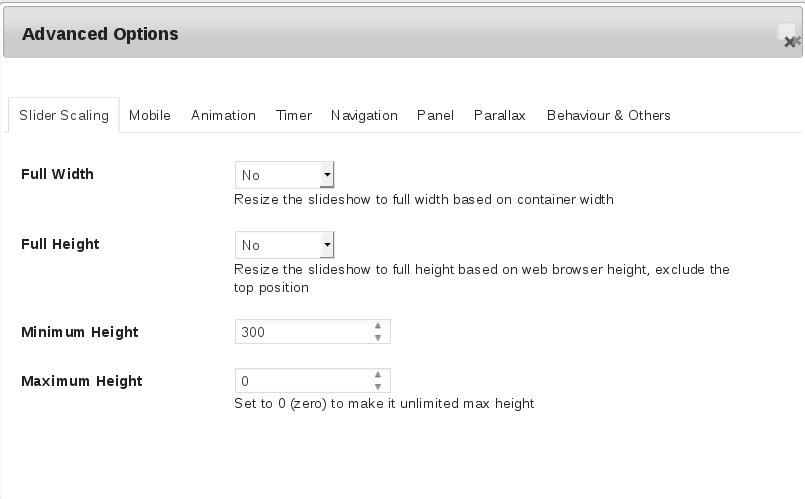
1. Full Width : Resize the slideshow to full width based on container width
2. Full Height : Resize the slideshow to full height based on web browser height, exclude the top position
3. Minimum Height : Minimum Height of slider on container when resized
4. Maximum Height : Maximum Height of slider on container when resized (Set to 0 (zero) to make it unlimited max height)
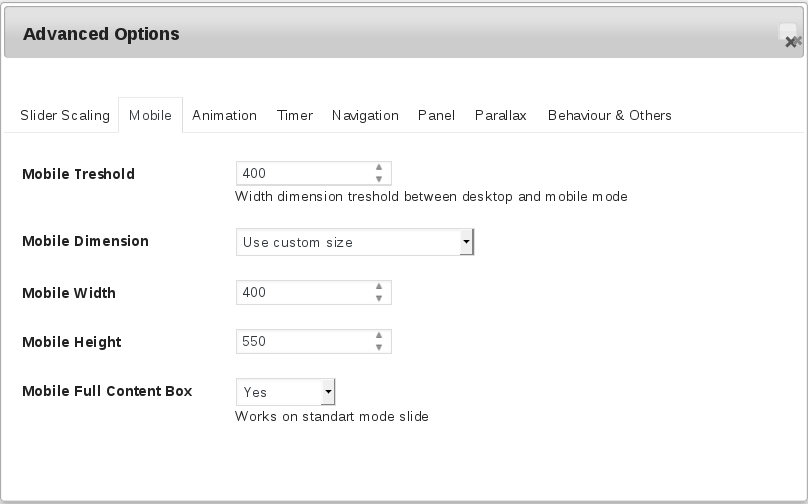
Advance Option - Mobile
1. Mobile Treshold : Width dimension treshold between desktop and mobile mode
2. Mobile Dimension : If you choose “Same as default base dimension”, then your mobile slider dimension will be same with desktop dimension. But if you choose “Use custom size”, then you need to adjust custom size “Mobile Width” and “Mobile Height”.
3. Mobile Width : Default mobile width dimension. Need to adjust if “Mobile Dimension” set to “Use custom size”.
4. Mobile Height : Default mobile height dimension. Need to adjust if “Mobile Dimension” set to “Use custom size”.
5. Mobile Full Content Box : Set mobile content/layer to full size on mobile.
Content - Text
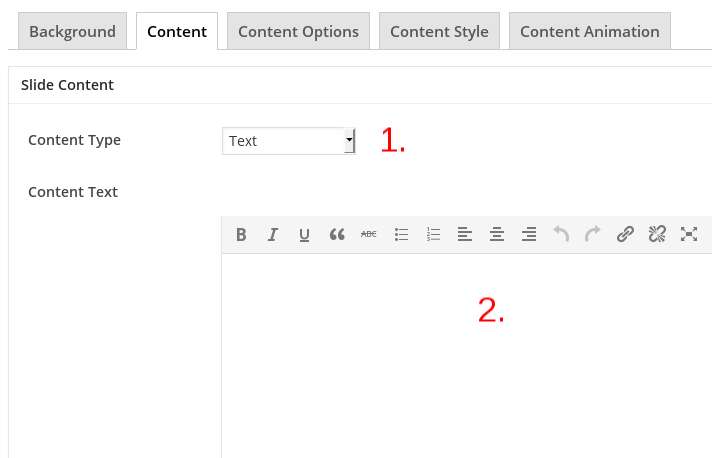
Content – Text
- Choose Text as Content Type
- Type your content here
Content - Text & Button
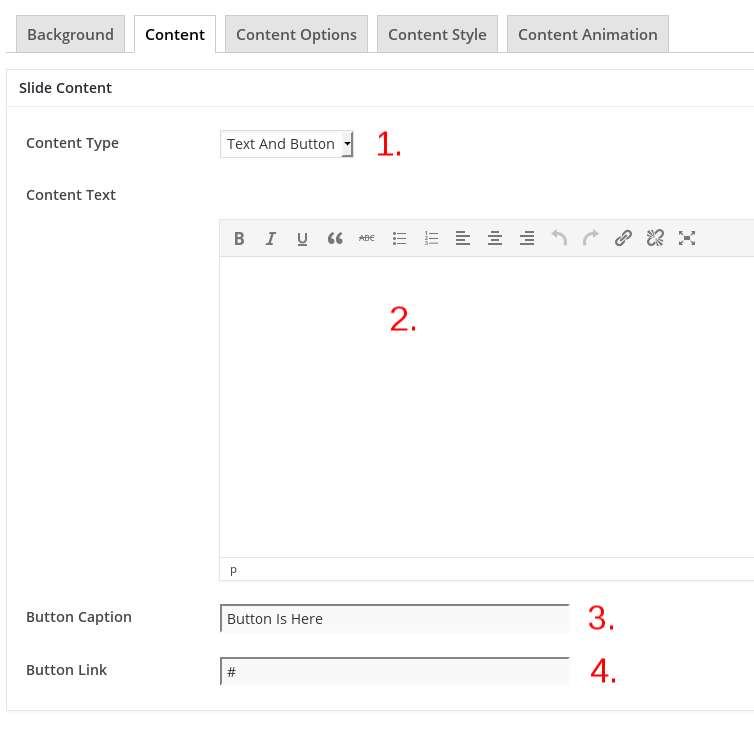
Content – Text & Button
- Choose Text & Button as Content Type
- Type your content here
- Type your button text/caption
- Type your button link
Content - HTML
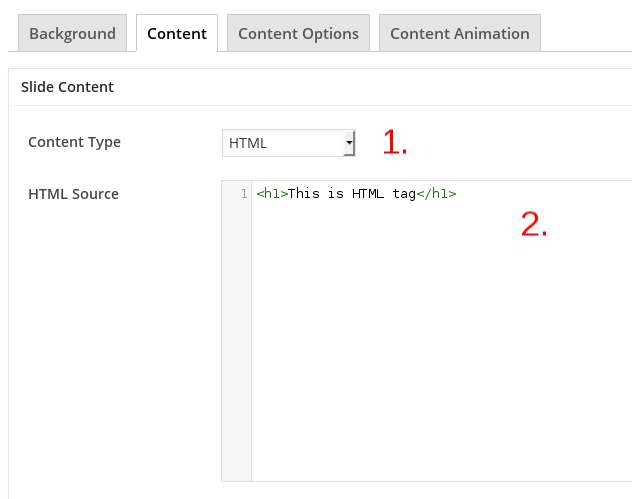
Content – HTML
- Choose HTML as Content Type
- Type your HTML content here
Content Options - Position
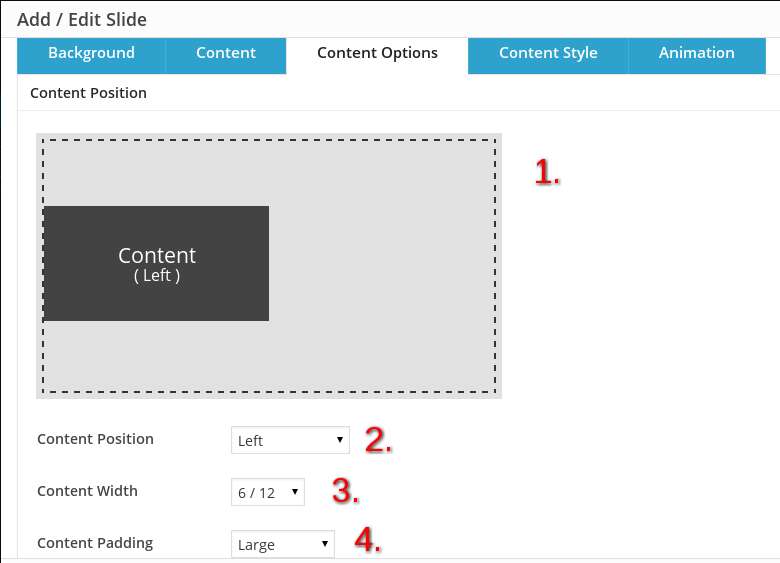
Content Options
- Content Position Preview: Here, you can see the preview of your content position setting
- Content Position: Choose your content position using this dropdown setting
- Content Width: The width of your content. You can also see the preview of it at content position preview (Point 1)
- Content Padding
- Content Background: Background for your content box. You can choose Transparent, Solid Color, or none.

Content Style
Sidebar - Dimension
Sidebar – Dimension
- Slider Width
Set your slider width by pixel - Slider Height
Set your slider height by pixel

Sidebar - Animation
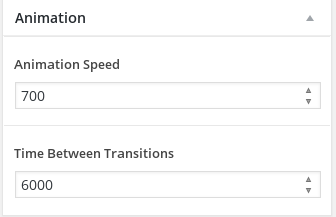
Sidebar- Animation
- Animation Speed
Set animation speed between transitions by milisecond - Time Between Transitions
Set timer for transitions between slide by milisecond
Sidebar - Timer
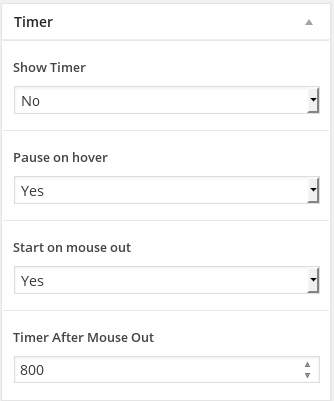
Sidebar – Timer
- Pause on Hover
Set Yes if you want to enable Pause when mouse hover the slide. Default is Yes. - Start on Mouse Out
Set Yes if you want start the slider when mouse out. Default is Yes. - Timer After Mouse Out
Set the time after the mouse out by milisecond.
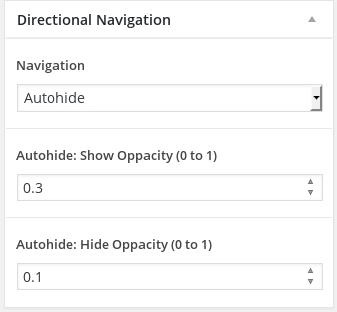
Sidebar - Directional Navigation
Sidebar - Pagination
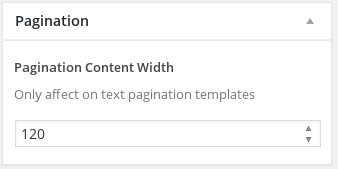
Sidebar – Pagination
- Pagination Content Width
Set the slider pagination width by pixel. Default is 120
Sidebar - Behaviour
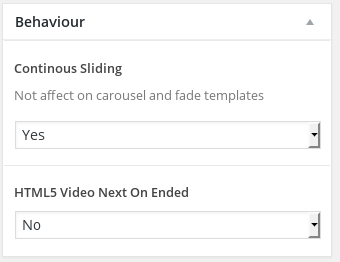
Sidebar – Behaviour
- Continous Sliding
Set Yes to make auto-slideshow. - HTML5 Video Next On Ended
Set Yes to make next auto-play HTML5 video when video ended.
Inserting into Post
At this section we will insert our slider into post, both in classic editor mode and Gutenberg mode.
Classic Editor
a. Insert with sangar slider button
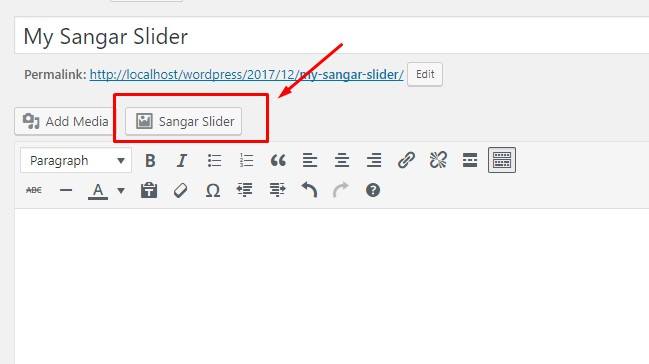
You can easily insert Sangar slider into post with available button. Just click and the pop-up will come-out showing the option of which slider that will you use.
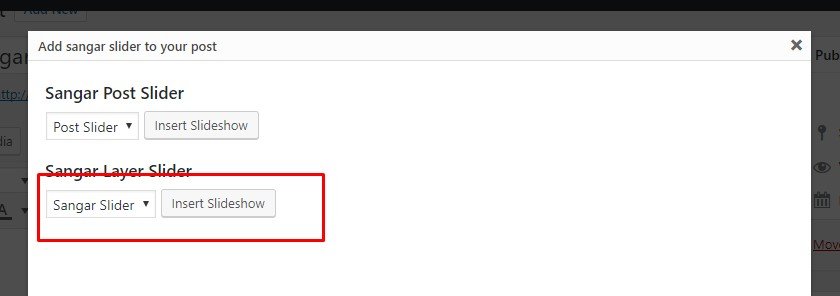
Choose one of your created sliders at select button and insert slideshow.
Your shortcode will automatically inserted into post.
b. Insert Manually
You can also manually add shortcode by copy and paste.
Go back to your Sangar slider admin menu
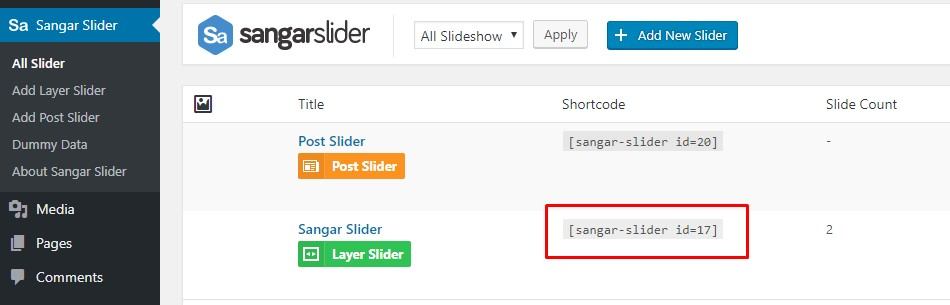
Copy that shortcode and paste to post editor.
After insert your shortcode click publish.
b. Gutenberg Editor
Gutenberg mode is future WordPress editor and Sangar slider has supported Gutenberg editor. This is how to insert Sangar slider through Gutenberg editor
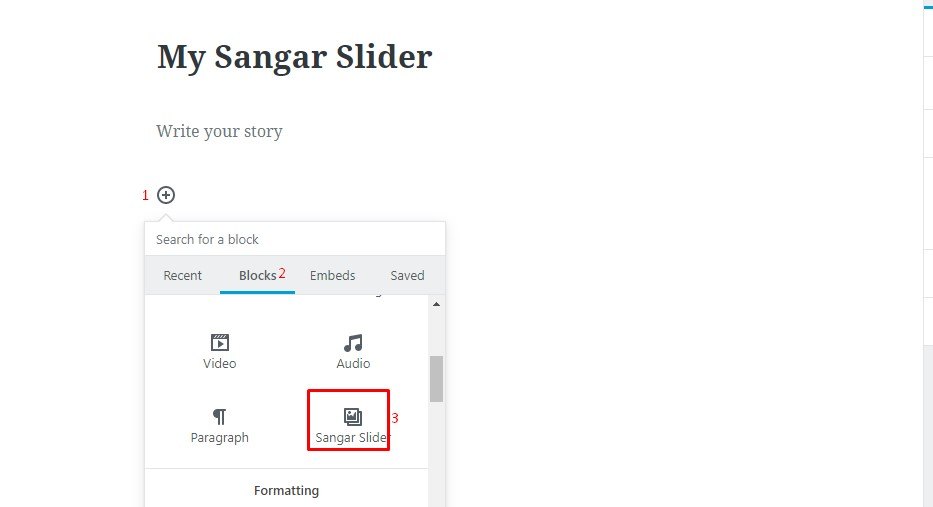
1. Click plus button
2. Click block
3. Click Sangar slider icon
And this is what you will get
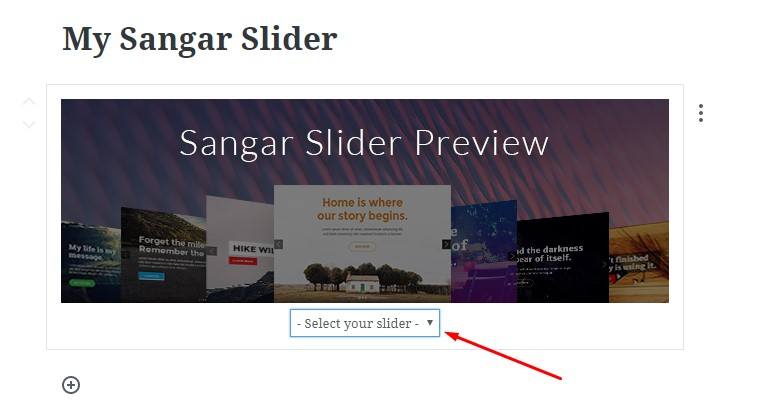
Click select your slider and you will find the slider that you have created.
Click Publish/Update and then view this post. You will see your beautiful slider. 🙂