Documentation
Introduction - Thank You
At first we would like to say thank you for choosing Inline Banner Ads Manager (IBAM) WordPress plugin. In this documentation you will find everything you need to use IBAM WordPress. If you have any questions which are not covered in this documentation, please open a new thread on Support Forum. Our support team will glad to help you.
Introduction - About
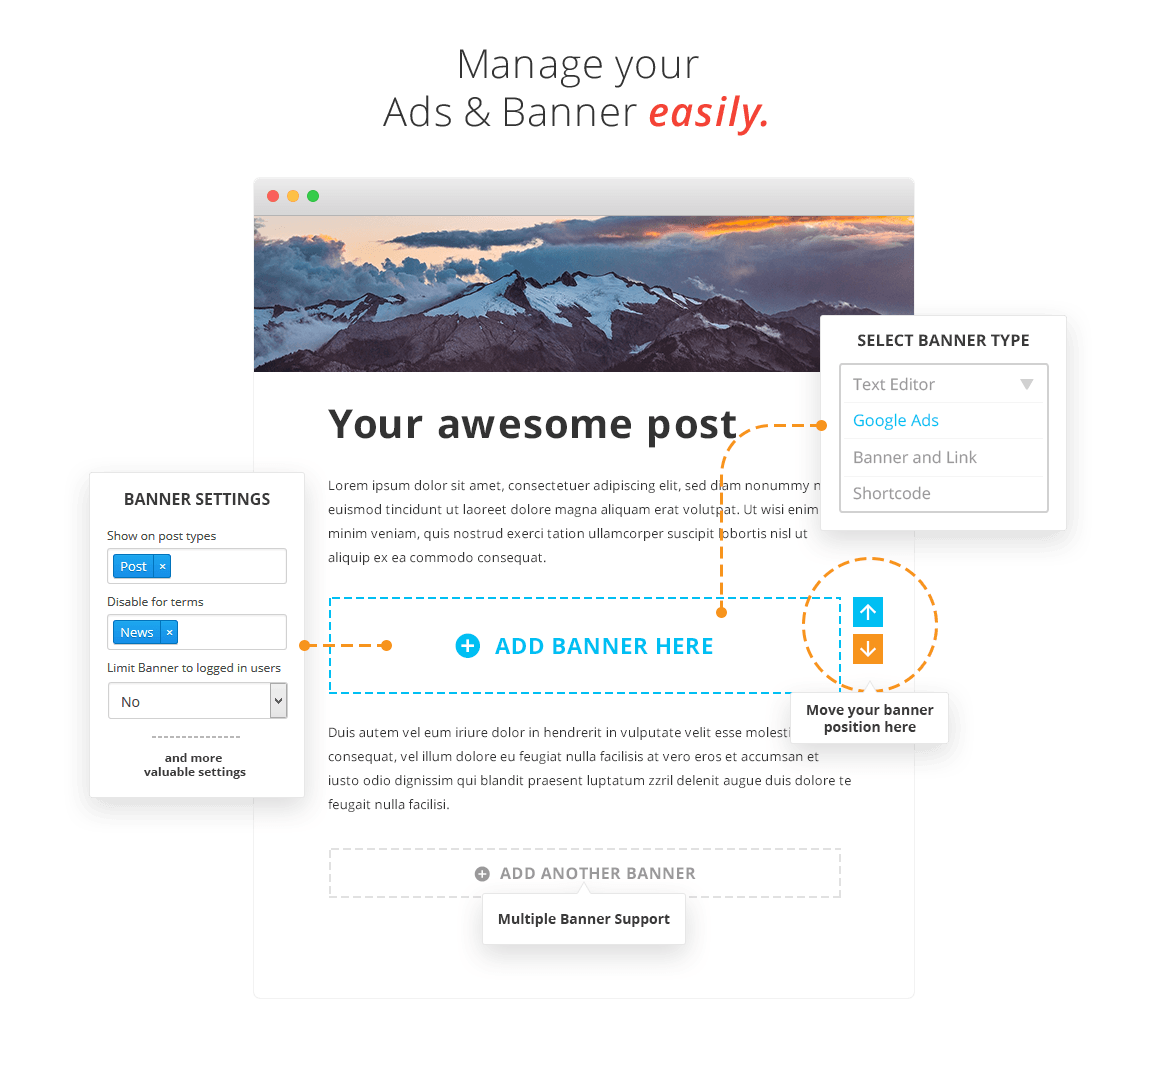
Simple Ads and Banner Manager is a small, easy to use plugin that allows you to place a banner or ads on a posts. Banners can be placed anywhere in your posts, including in the middle, top or bottom of your post.
You can add multiple ads/banner inside your post to fit your needs. You can change the position of your ads/banner in realtime with intuitive point-and-click user interface to move your ads between paragraph.
Introduction - Features
Some of unique features of IBAM plugin :
- Create banner/ads easily wihtout coding.
- Simple and user friendly interface.
- Move your banner position beetwen paragraph using point-and-click feature.
- 4 types of banner, including google ads, text ads, image & link ads, HTML ads, and shortcode ads.
- Create multiple ads with single click
- Set the audience of the ads. You can disable ads for registered user, and display the ads for guest/anon user.
- Set where you want to display your ads based on post-type and category.
- Create different banner/ads for mobile device.
Install - Minimum Requirements
WordPress 4.0 or greaterPHP version 5.2.4 or greaterMySQL version 5.0 or greater
Install - Via WP Installer
- Extract the zip file which you’ve downloaded from Tonjoostudio.com.
- Navigate to Plugins > Add New page in your WordPress admin.
- Click on the Upload button on the top.
- Click on Choose File and choose “inline-banner-ads-manager.zip” file from extracted zip file. then hit the Install Now button.
- Now you should see “Ads & Banner” in plugins list. Click on the Activate Plugin to activate IBAM.
Install - Via FTP
Updating - Auto Update
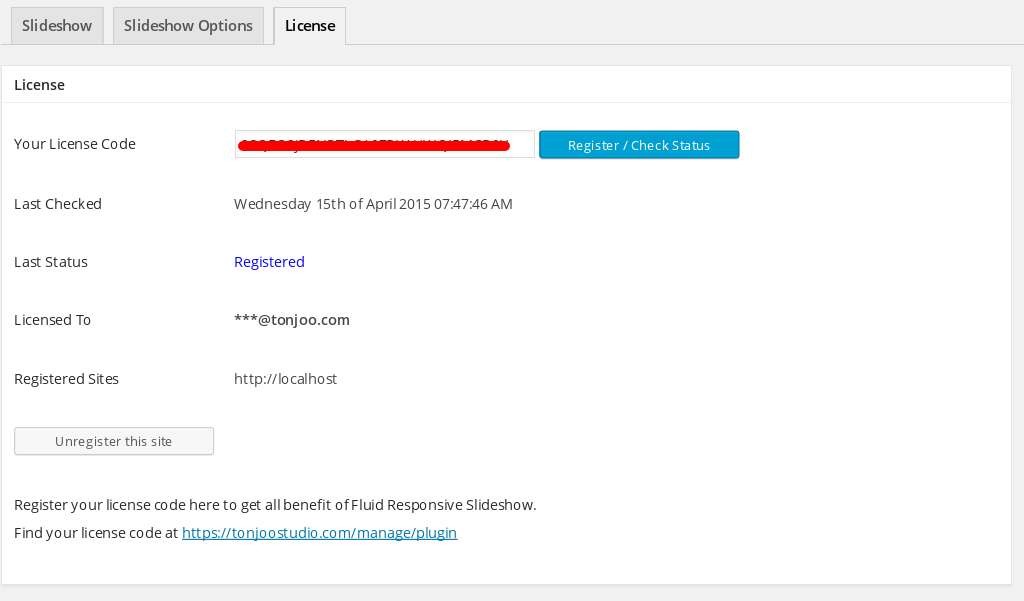
Auto update is simple and easy. Just go to Ads & Banner settings > Enter your Ads & Banner License. Then Auto update will apear in Plugin page.
Banner - Overview
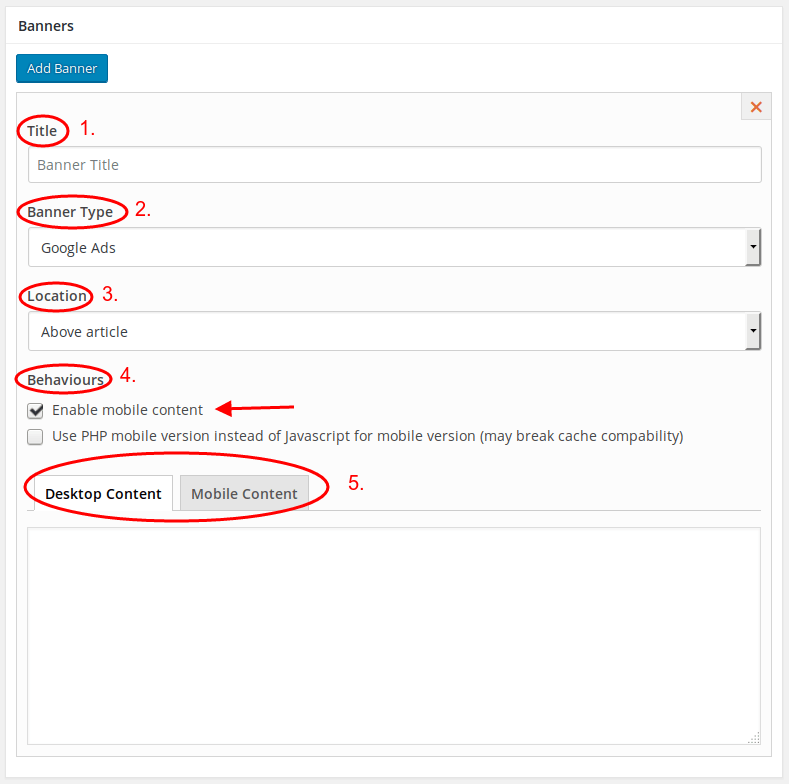
1. Title : The title of Banner
2. Banner Type : IBAM have 4 types of banner. You can choose one of them. We will discover more about banner type in the next slide
3. Location : You can also choose to where to place your banner. We will also discover more about location in the next slide
4. Behaviour : Set how your IBAM works. You want to use different ads/banner in mobile? Then this option is for you
5. Desktop/Mobile Content : The content of your banner. This is depend on what banner type you are using.
Banner - Tittle
Here you write your banner title, so you know the difference between one banner and another. As simple as that.
Banner Type - Google Ads
Banner Type
Google Ads : Google Ads is an online advertising service that enables advertisers to compete to display brief advertising copy to web users, via google network web pages.
You can display your google adwords using IBAM by choosing this banner type, and put your google ads code inside editor :
Banner Type - Text Editor
Banner Type
Text Editor : A text editor is a banner type used for editing plain text or HTML. IBAM provide you with text editor option so you can have more control over your banner/ads content.
Banner Type - Banner & Link
Banner Type
Banner and Link : This feature allow you to upload static image and put a link inside it. You can upload image with any size, IBAM will set it auto berfore displaying it.
Banner Type - Shortcode
Banner Type
Shortcode : Shortcodes in WordPress are little bits of code that allow you to do various things with little effort. This allows you to embed files or create objects that would normally require a lot of code in just one single line.
Put your shortcode inside desktop content :
Banner - Location
Location
Location is a option that allows you to put your ads based on location. You can put your ads after paragraph, before paragraph, even after n paragraph. You can also using our intuitive point-and-click feature to set your ads location in real time
Banner - Behaviour
Behaviours options determine the behaviour of your ads. You can use only native desktop content, or you can also enable mobile content (if you want to display different ads for defferent device.
Enable Mobile Content : Check this option if you want to display different content/ads for mobile device
Use PHP Movile Version : Check this if you want ti display the mobile content based on PHP version, not JS.
Banner - Content Editor
Content Editor is a place where you put your ads/banner content. And content editor is depend on what banner type you are using. Eg, if your using Text Editor banner type, the content editor will change to HTML editor. If you are using banner & link banner type, content editor will change to image upload field.
Mobile editor will display if you check Mobile Editor in behaviour. Use mobile editor if you want to show different ads/banner for mobile device.
Settings - Overview
1. Show on Post Type : Choose where you want to display your ads/banner based on which post type.
2. Disable for terms : Disable IBAM based on post category. So IBAM won’t displyed in that category.
3. Limit banner for logged in user : Disable IBAM only for logged in user, and enable IBAM for anoymous or guest user.
4. Mobile treshold : Set the based treshold for mobile based display.
5. Show on Homepage : Check YES if you want to display IBAM on homepage.
6. Show on Archive : Check YES if you want to display IBAM on archive.
Tutorial
In this tutorial, I will discover the real world use of IBAM plugin. I will create two different banner/ads, and display it in single post.
1. Click Add Banner button
2. Write your banner title
3. Choose your banner type. In this tutorial, we will be using Banner and Link type, so choose Banner and Link.
4. Set the location of your first banner, and check the mobile version. Because we want to display differtent banner for mobile device.
5. Upload desktop banner to content editor, and type the link for it :
And since we are using Mobile version, we must upload the mobile version of banner. Click Mobile Content tab, and upload your mobile banner :
6. Because I want to create another ads with different type (This one will be Text/HTML ads), click “Add Banner” once more.
7. But this time, instead of using Banner and Link type, I’ll choose Text Editor. And put my HTML code inside content editor :
Now you have two banner/ads with different type. Let’s check how it works in front-end :


